- Published on
How to Install HACS on Home Assistant OS
- Authors

- Name
- Simply Smart House
How to Install HACS on Home Assistant – OS/Supervised
- Add the HACS repository.

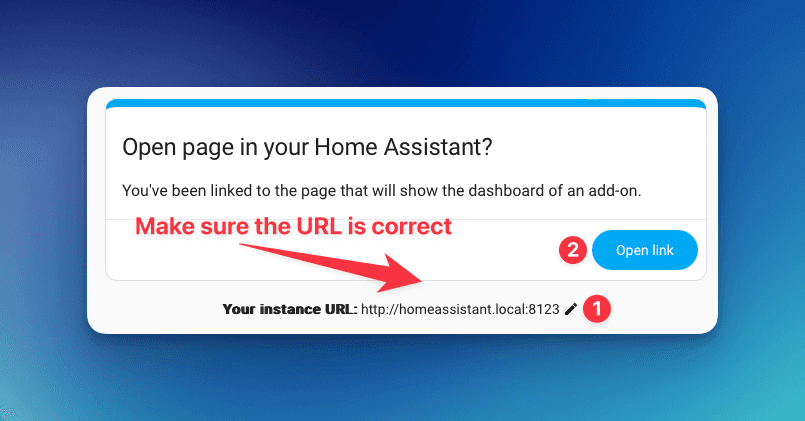
- Validate the Home Assistant link, edit it if necessary, then open it.
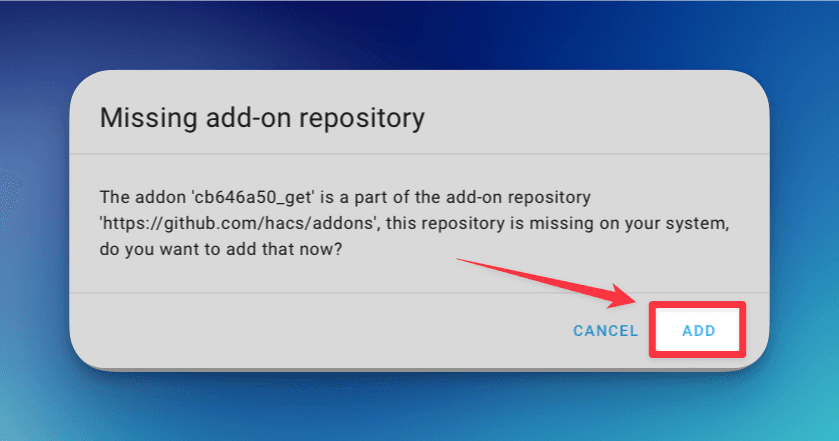
- Add the missing repository.
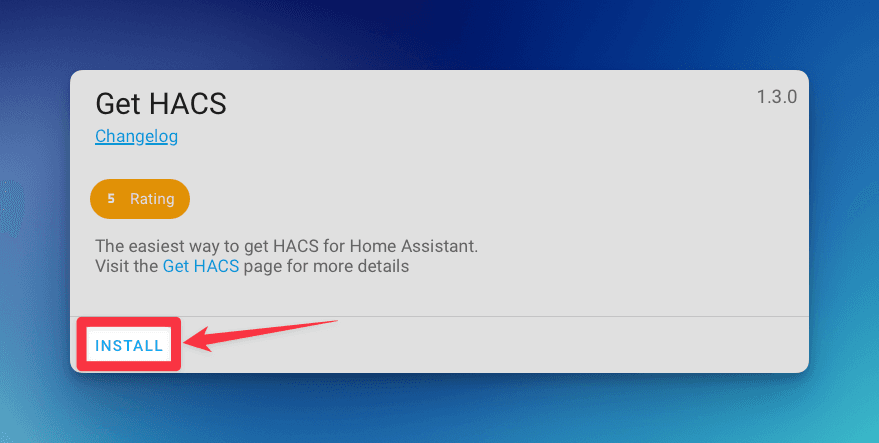
- Install Get HACS.
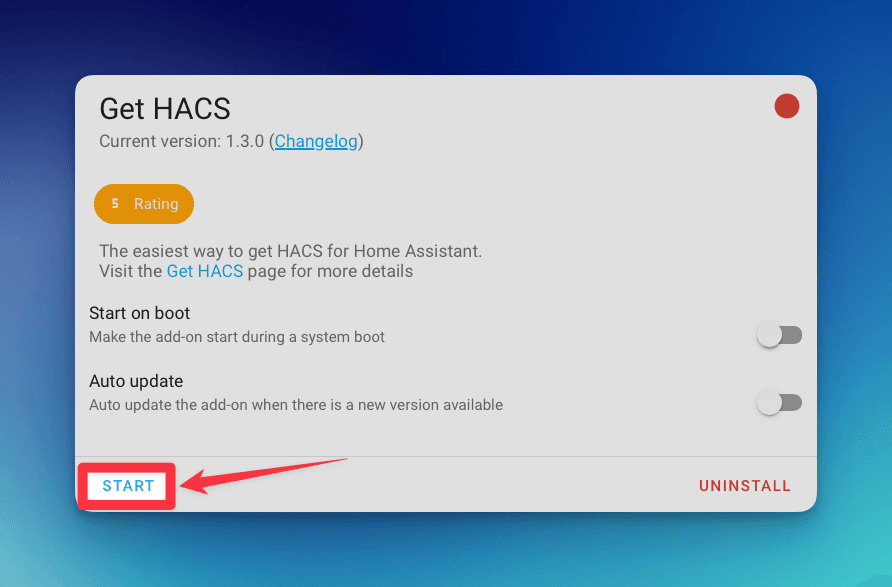
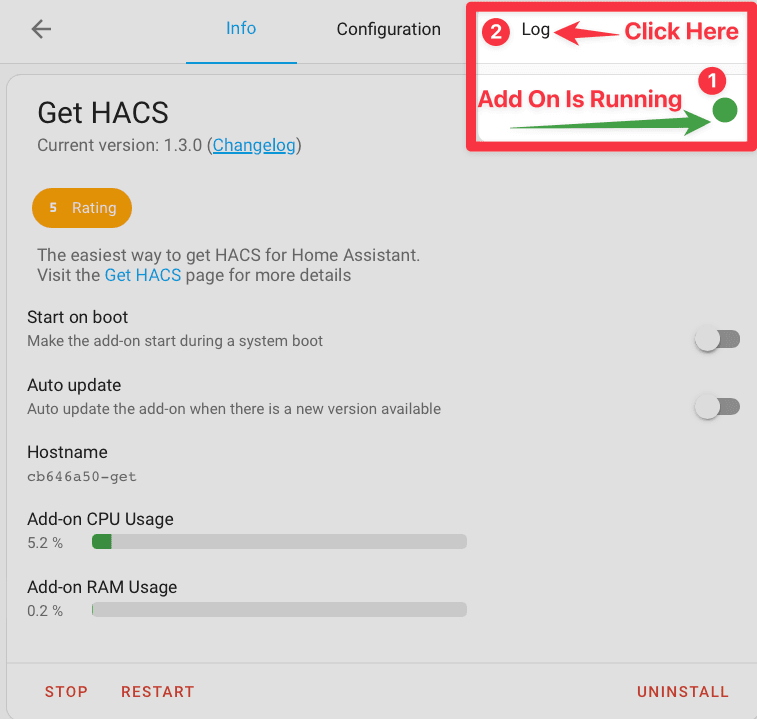
- Start the Get HACS add-on.
- Make sure the add-on is running (indicated by a green indicator), then navigate to the log section.
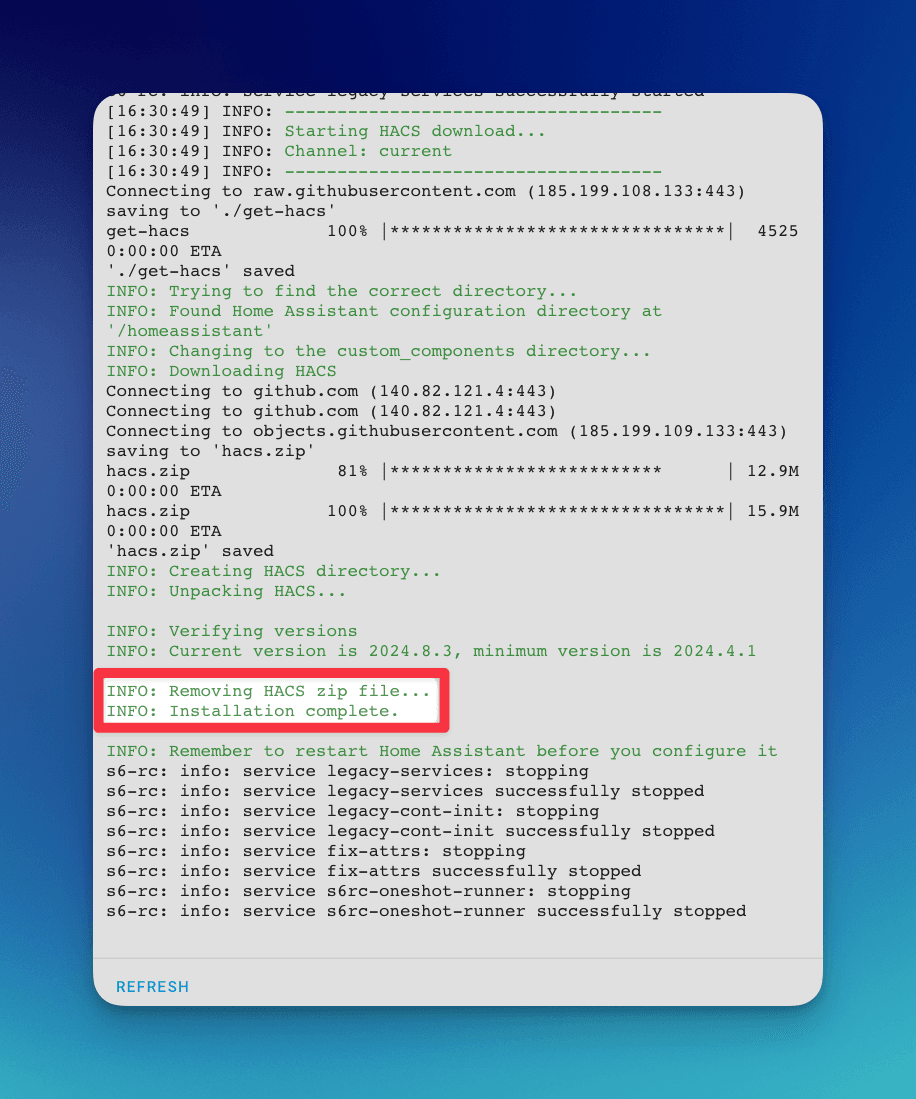
- Make sure the installation was successful.
- Uninstall Get HACS as it is no longer needed.
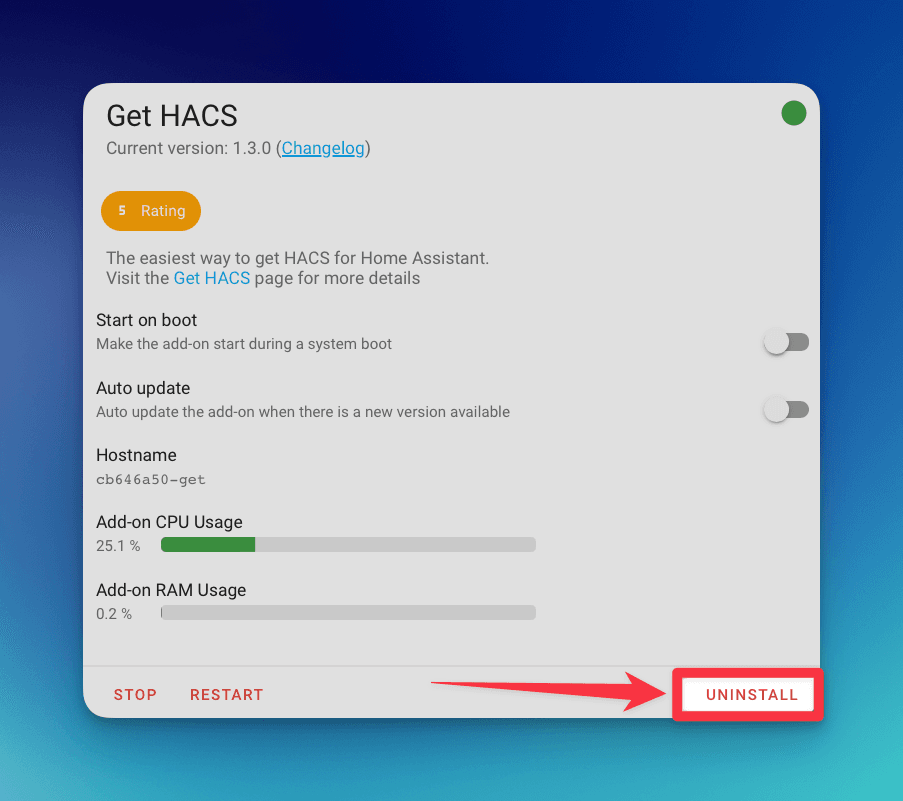
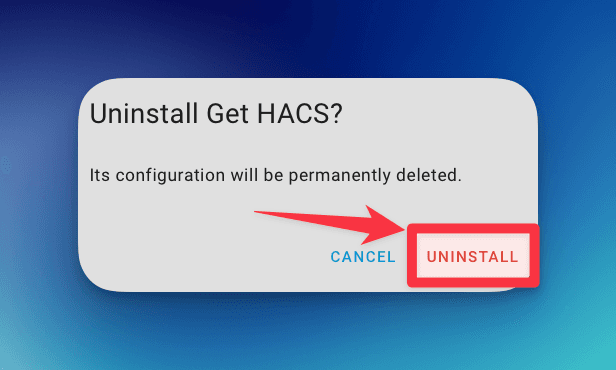
- Click on Uninstall.
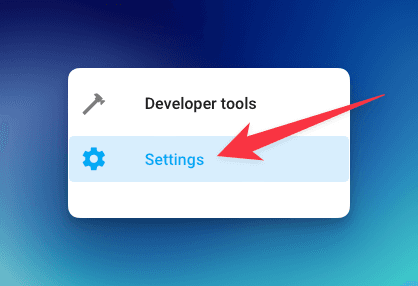
- Navigate to the Home Assistant settings.

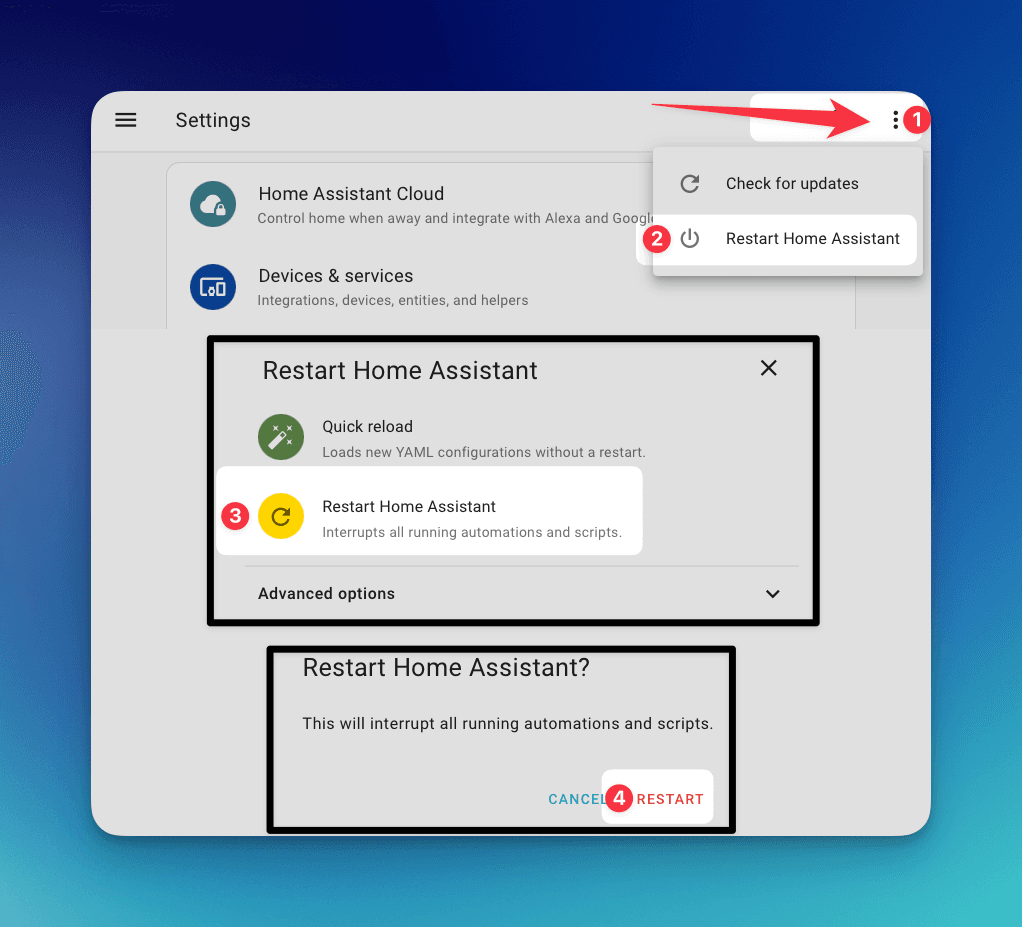
- Restart Home Assistant.
- After Home Assistant reconnects, navigate to Devices & Services.


- Preform a hard reset to your browser:
CTRL+F5Windows/LinuxCMD+SHIFT+ROn Mac
- In the bottom right corner select add integration.

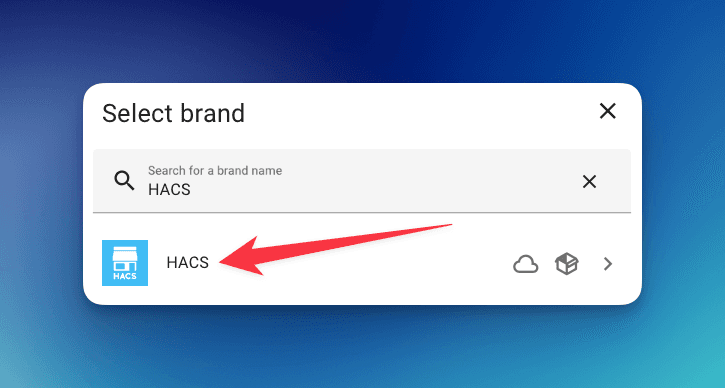
- Search for HACS and select it.

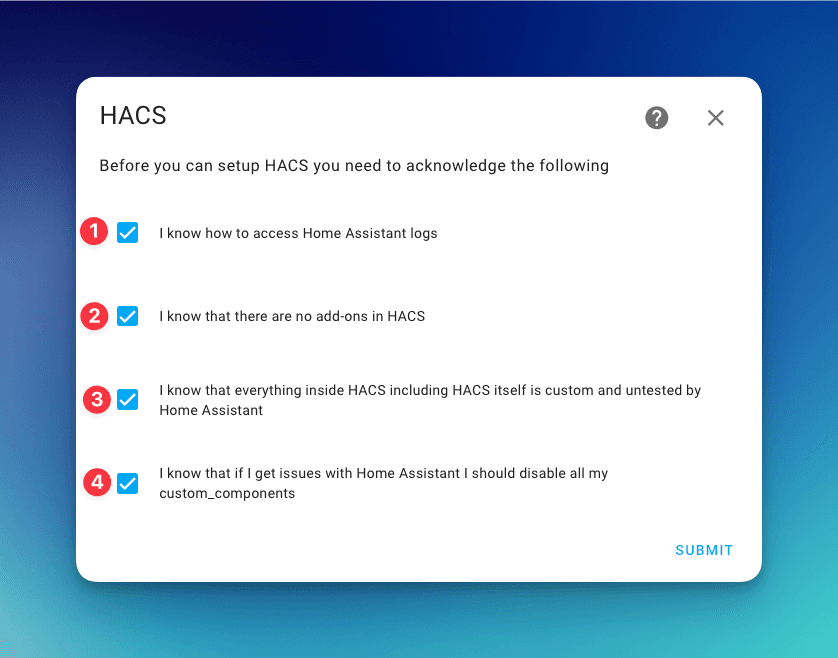
- Acknowledge the statements and select Submit
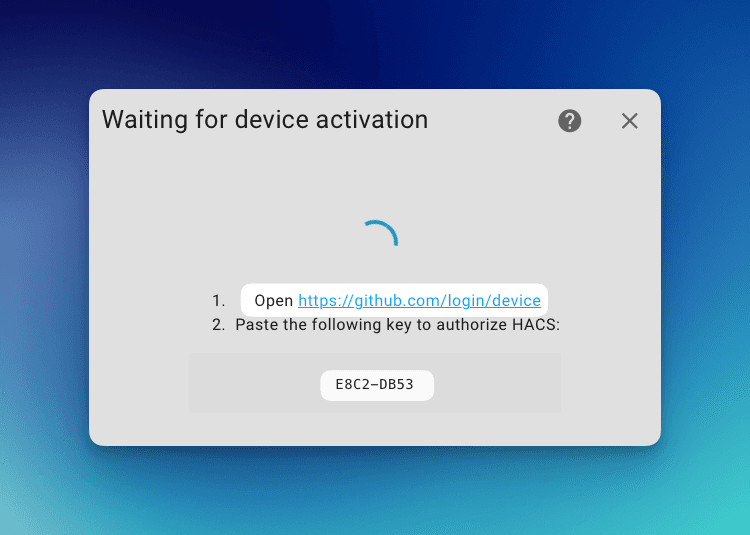
- Copy the device code and open the link to GitHub.
- Sign in/sign up to GitHub, then paste in the code from the previous step.
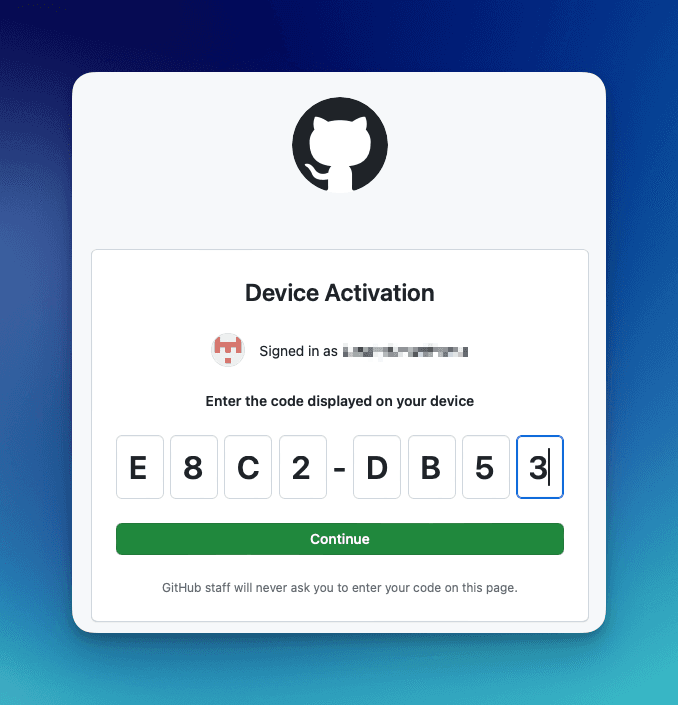
- Select Authorize HACS.

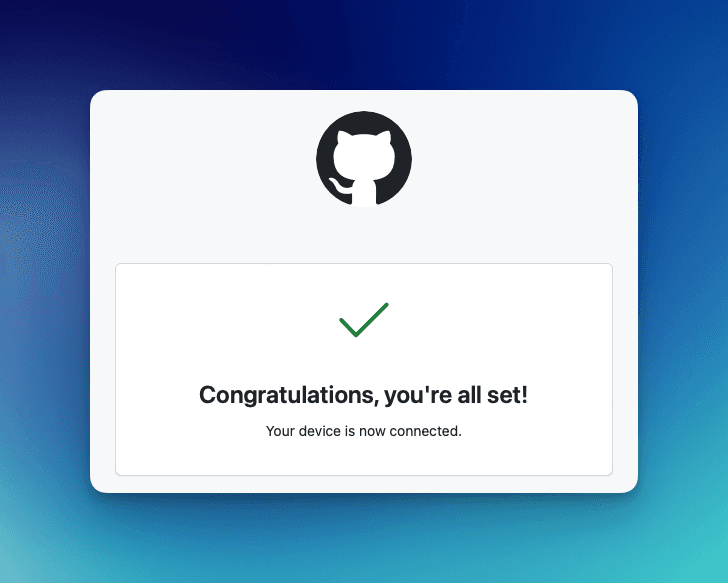
Once you see the confirmation screen, you can close the tab and go back to Home Assistant.
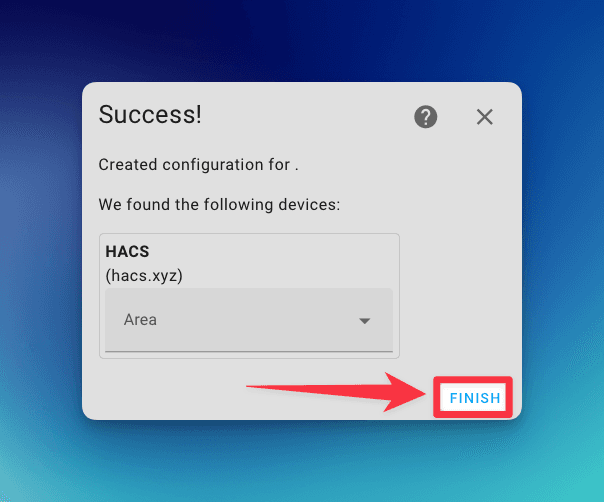
- Congratulations! HACS is now installed. You can assign an area if you like or just press Finish.
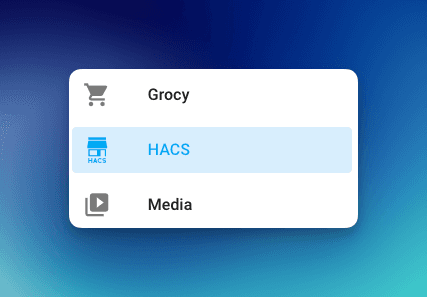
- You should now see the HACS logo in the sidebar.
If the logo wasn't added to the sidebar preform a hard reset to your browser:
CTRL+F5Windows/LinuxCMD+SHIFT+ROn Mac