- Published on
How to Install Home Assistant On X86 Machine Using Ubuntu
- Authors

- Name
- Simply Smart House
How to Install Home Assistant On X86 Machine
- Installation Process
- BIOS setup
- Run Live Ubuntu OS
- Install Balena Etcher In Ubuntu
- Flash Home Assistant OS
- First Boot
Welcome to this tutorial on how to install Home Assistant on x86 architecture. Home Assistant is an open-source home automation platform that allows you to control various smart devices and automate tasks in your home. In this tutorial, we will guide you step-by-step on how to install Home Assistant on x86 architecture.
Installation Process
Open Balena Etcher
Select flash from file:
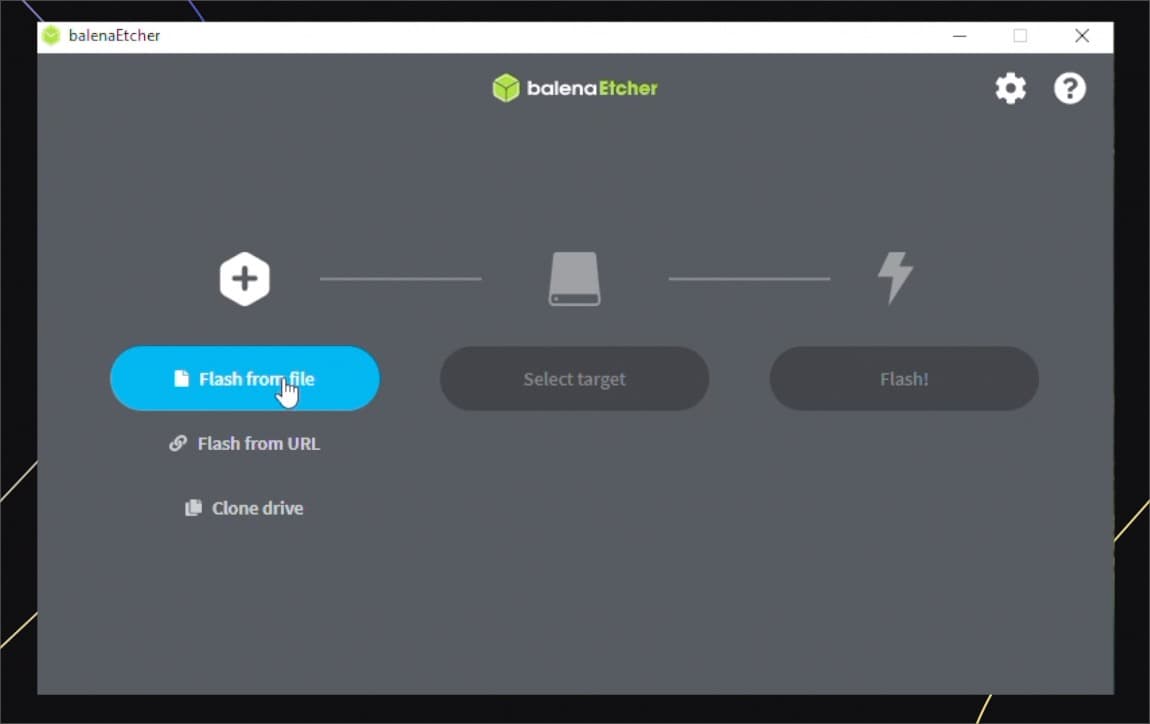
Select the Ubuntu image
Go to select target, and choose your USB drive, then click flash
Restart your PC
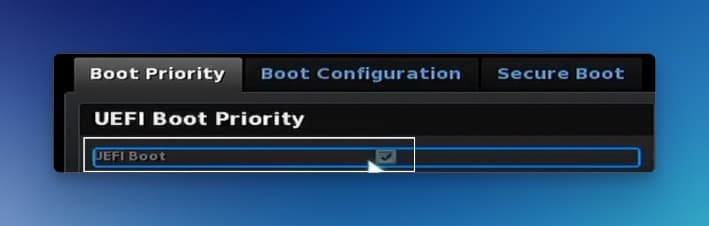
BIOS setup
Enter the BIOS setup using F2 (For an Intel NUC)
Enable UEFI boot
- Disable Secure Boot
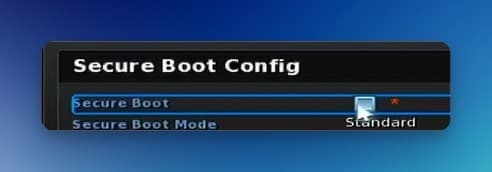
- Press F10 to save and exit
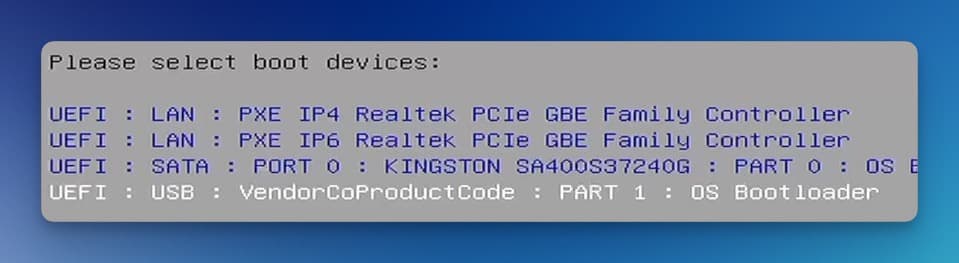
Run Live Ubuntu OS
Press F10 to enter the boot menu
Select your Ubuntu drive
- Select
Try or Install Ubuntu
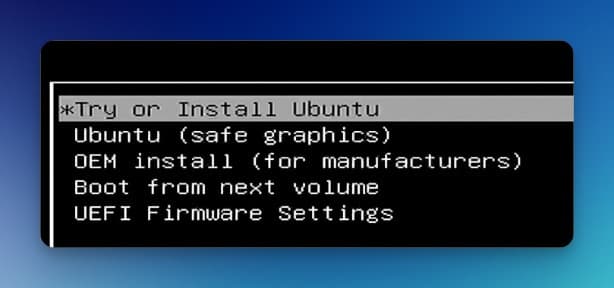
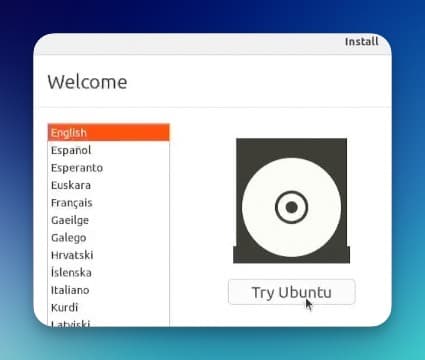
- Select
Try Ubuntu
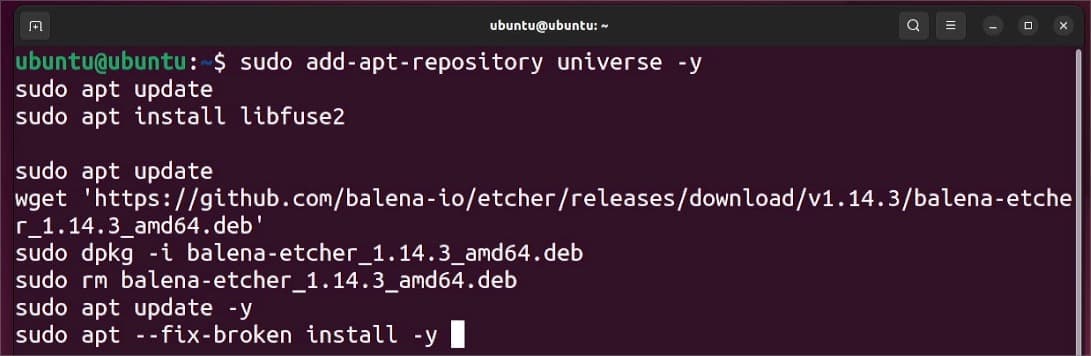
Install Balena Etcher In Ubuntu
Open the terminal using
Ctrl + Alt + TCopy the following commands:
sudo add-apt-repository universe -y
sudo apt update
sudo apt install libfuse2

sudo apt update
wget 'https://github.com/balena-io/etcher/releases/download/v1.14.3/balena-etcher_1.14.3_amd64.deb'
sudo dpkg -i balena-etcher_1.14.3_amd64.deb
sudo rm balena-etcher_1.14.3_amd64.deb
sudo apt update -y
sudo apt --fix-broken install -y
- Paste using
Ctrl + Shift + Vand pressEnter
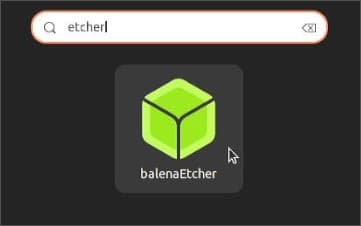
- Open the applications menu in the bottom left
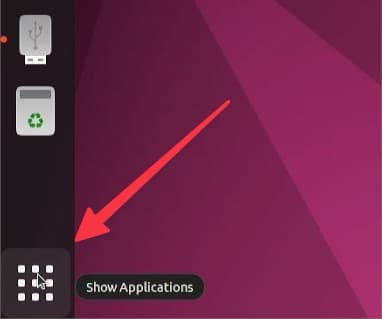
- Search for Balena Etcher and press
Enterto open the application
Flash Home Assistant OS
- Copy the URL for the Generic x86-64 image from:
https://github.com/home-assistant/operating-system/releases/download/13.1/haos_generic-x86-64-13.1.img.xz
Or
From the Home Assistant website
- Select flash from URL:
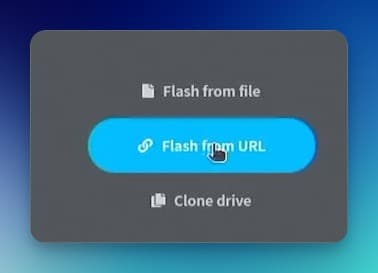
- Paste the Home Assistant URL

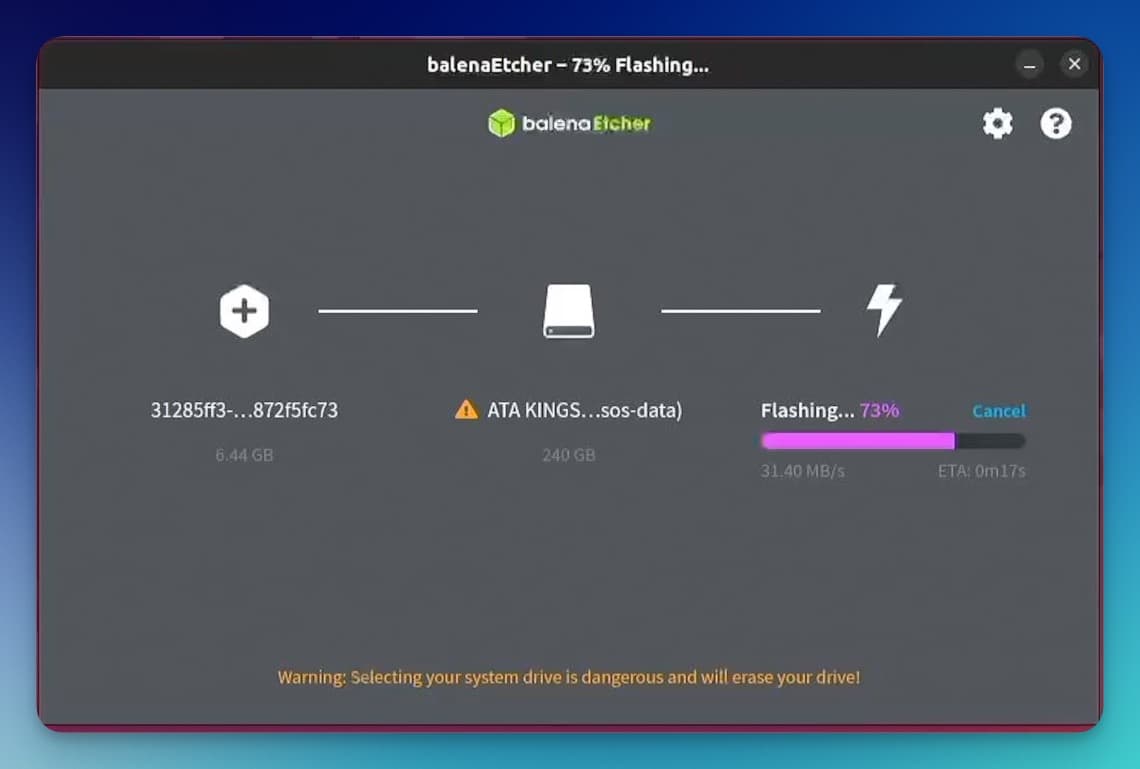
- Go to select target, and choose your drive, then click flash
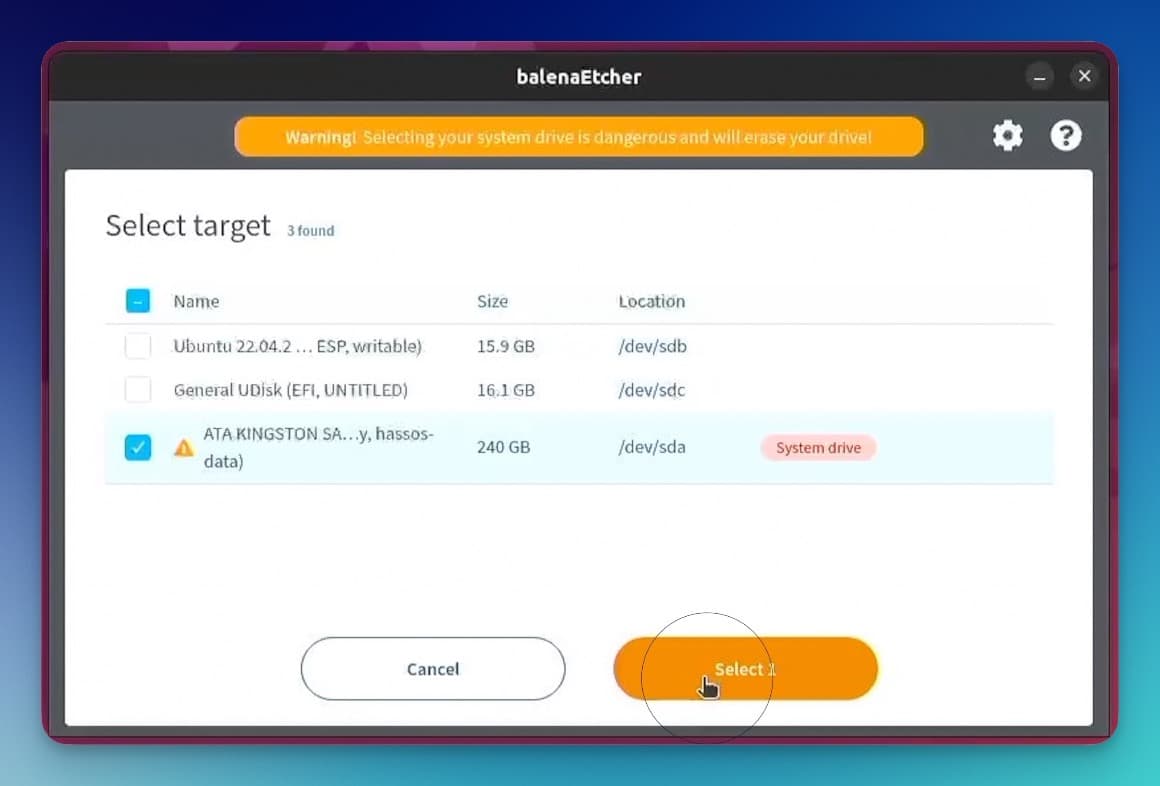
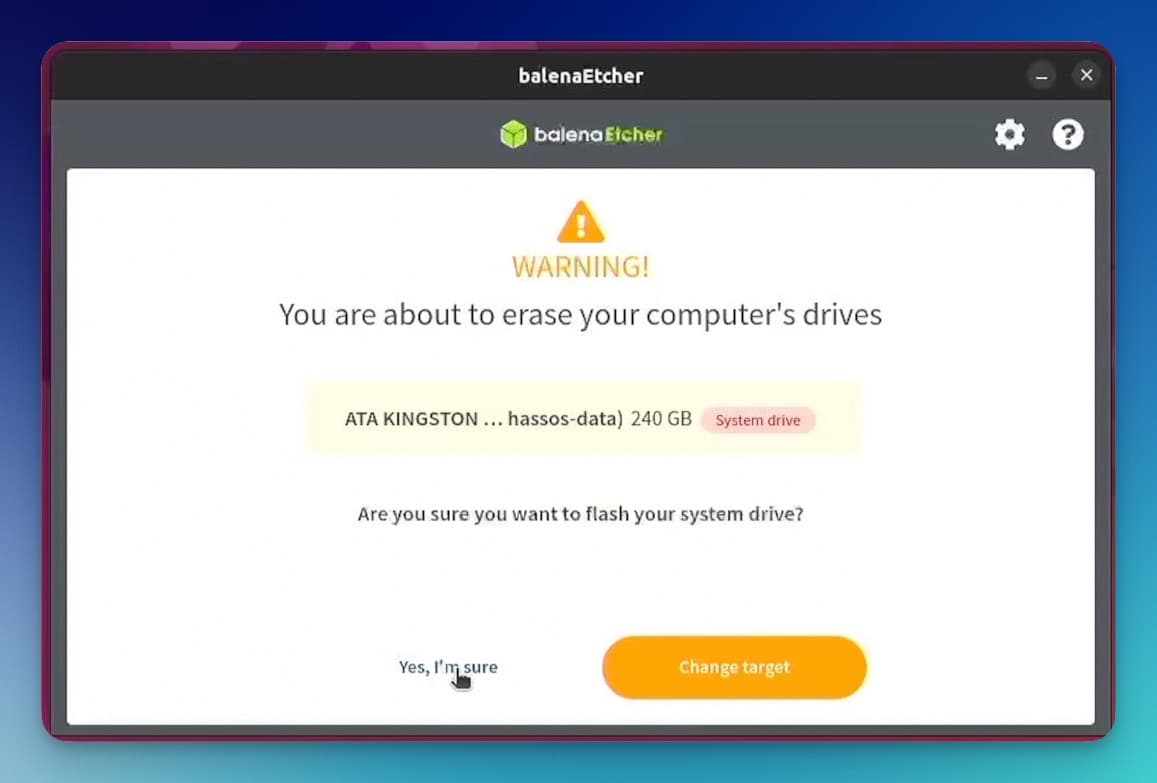
- Balena Etcher should begin to flash the image
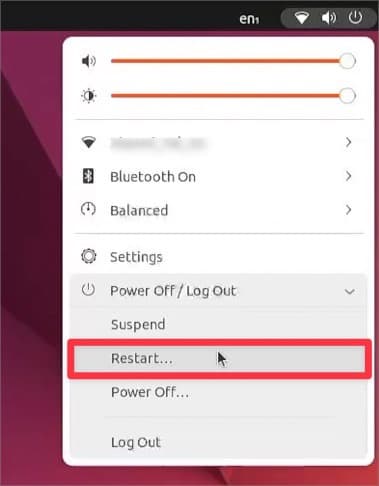
- Restart Ubuntu
First Boot
Home Assistant should start booting
You can login from your browser using http://homeassistant.local:8123
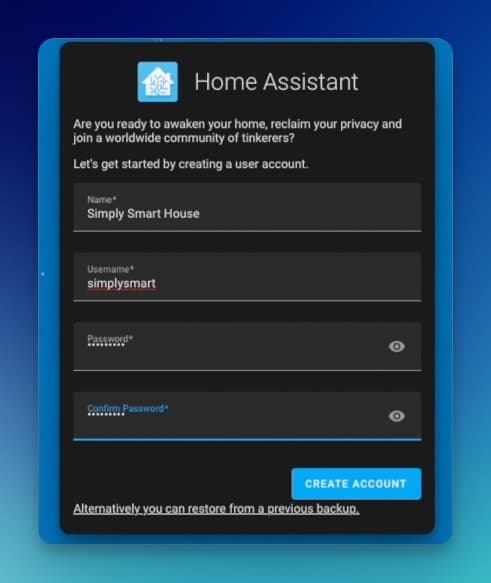
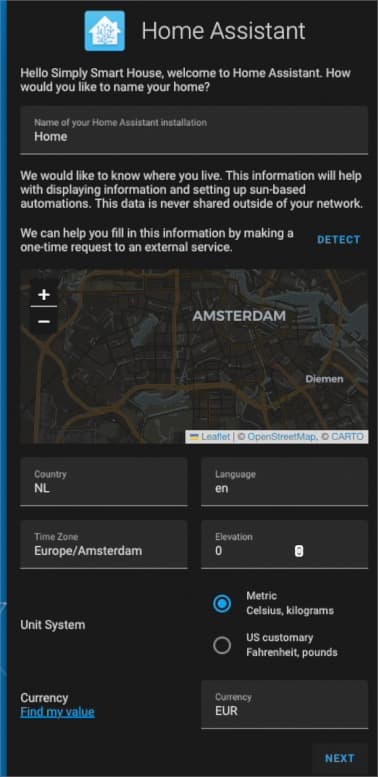
Fill in the required details and click Finish
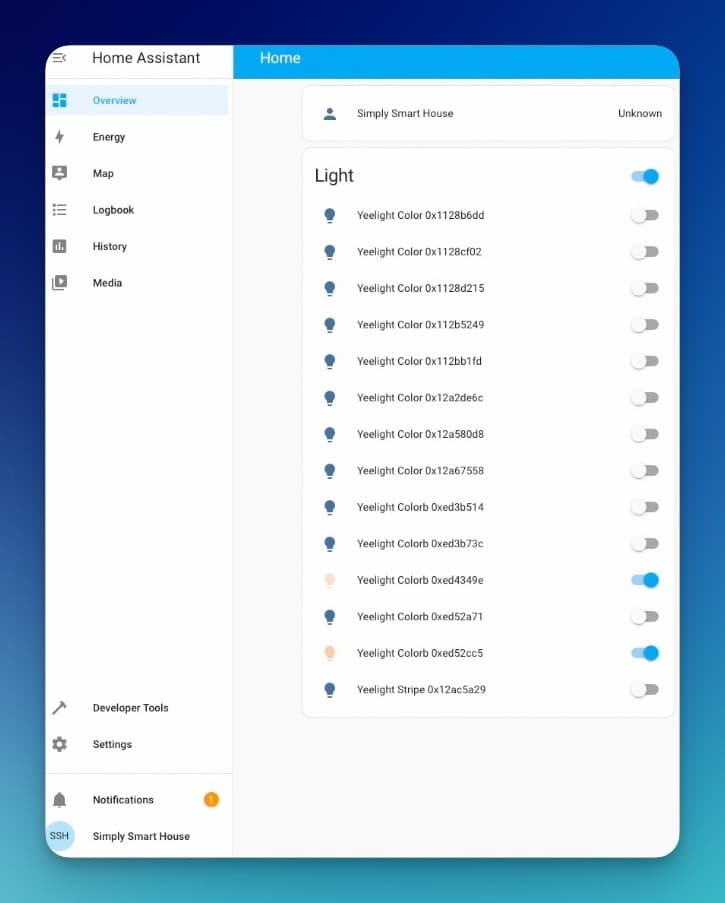
- You can see the Home Assistant dashboard
That’s it! You have successfully installed Home Assistant on x86 architecture. You can now control your smart devices and automate tasks in your home.